

February 01, 2016
An acquaintance of mine bought 3D printer parts to make a DIY 3D printer. He quickly grew tired of it, however, and after finishing the initial assembly didn’t really feel like working on it anymore. Finding 3D printing fairly fascinating, I took upon the task of carrying on from that point.
I’m wondering if I should call it a “kit”, because I don’t think it was one of those standard DIY 3D printer kits, like the ones I would see people talking about on the open-source DIY 3D printer forums. The parts came in a plain brown box with writing in Chinese on the sides and was taped shut with duct tape. It also didn’t come with the right size of screws for the metal heatbed. Apparently it was bought for about $400 or $450 in cash from someone running a shop in a storage unit.
I wonder if it was supposed to be a comprehensive kit. I think the seller actually made this 3D printer kit himself - there was an acrylic frame for the printer, but some of the parts seemed to definitely be printed by another 3D printer:
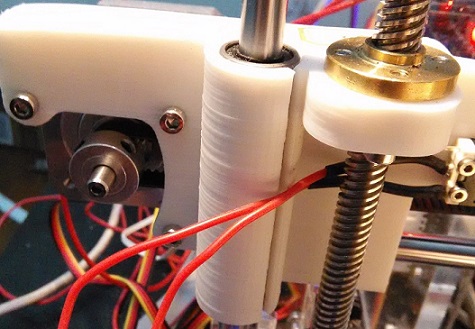
The lines along this part definitely look 3D printed, for example.
I couldn’t find tutorials online which seemed to have the exact same combination of types of parts. This one used an MK8 J-head extruder, but I struggled to figure out the details of the stepper motor being used. I believe it was manufactured in China, and I remember having trouble finding a datasheet for it. I ended up guessing at some values when doing some calculations when calibrating, then tweaking with the values till it worked.
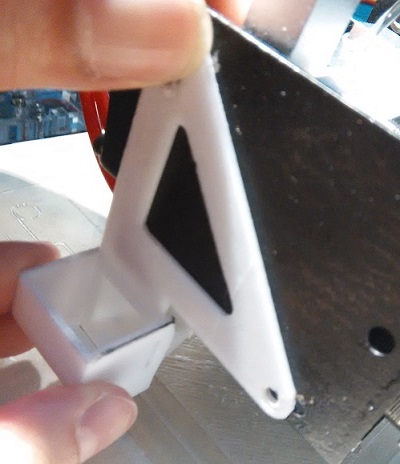
The fan holder and nozzle didn’t actually line up with the parts it was supposed to screw onto :(. The second hole in the holder wouldn’t reach. So it ended up just having to dangle from the top, supported by one screw and nut. The fan holder and nozzle was 3D-printed no doubt. You can see both the layers and infill pattern (maybe not very clearly in this badly taken photo):
Eventually I used a wire to twist tie the second hole of the fan to the structure, to keep it stable while printing:
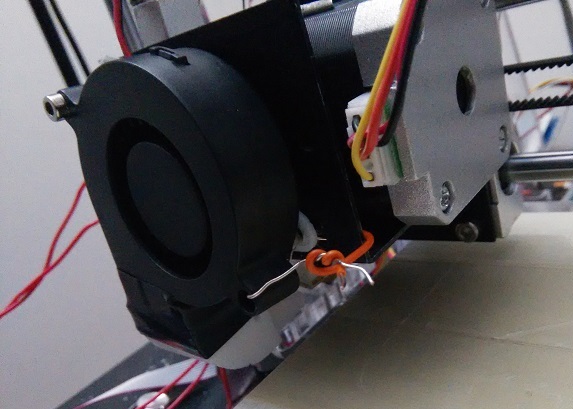
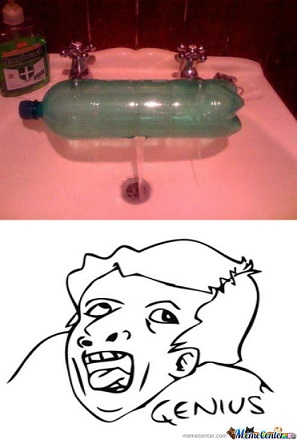
Advanced technology, I know. It made me feel like one of these memes
Note from my 2017 self: As I look over this old post and remember the time I was making this, I sorta shake my head. Just keep in mind that I was making this back with little to no proper tools available… Long story short, I was in Toronto and in a place I didn’t plan on staying for very long, so I didn’t want to invest in tools or equipment either, since I’d be leaving soon anyway. Anyhow looks like I did my best with what I had… sweats
Anyhow, the acrylic frame had an “i3” engraved in it, so I’m assuming the kit was meant to be some hybrid of the Prusa i3 family. Unfortunately it didn’t seem to correspond perfectly for any of the online tutorials on Prusas, but parts of the tutorials were applicable at times. The seller had provided some PDF files for assembling the printer.
I don’t mean to complain about the seller or anything. (I also didn’t even pay for the thing, so what right do I have to be complaining, haha.) Later I went down to him to pick up some more PTFE tubing for the hot end, and he gave me some extra for free and was an all around jolly man. Apparently he provides free support and help if you’re a customer, but his place was pretty far so I preferred to simply figure things out on my own.
Here is a picture of the printer assembled, but still unprogrammed:
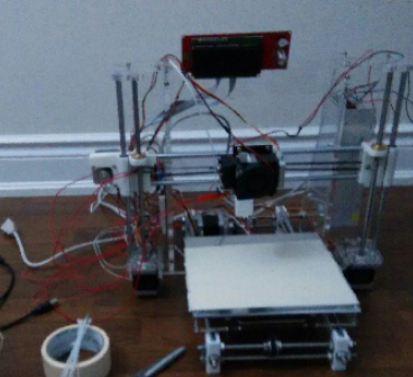
I got used to continually taking apart the fan-extruder-stepper motor mechanism to unclog the extruder. For anyone else considering a 3D printer, after this experience I’d say the higher price of a fully metal hot end (vs a hot end with PTFE tubing) is definitely worth it. Maybe it’d clog less. More importantly though, if you ever overheat the heating block and shoot pass the glassing point of the PTFE tubing, then that PTFE tube will be unusable, and you’ll have to replace it, which can be a bit annoying.
Every time you take apart the extruder to replace PTFE, for example, you have to readjust the z-switch and heat bed height to have the starting height of the printing be not too high and not too low. The hot end of the extruder must be just above, but not touching the heat bed. Just enough so that you can pull a piece of paper between the two and have it be taut.
The board the printer used was an Arduino Mega and RAMPS. Well, not an official one - some duplicate or replica of one, but it is fully functional so I’m not complaining. There are open source firmwares for Prusa printers online, and I tried using some. None of them fit the odd hybrid that which was the printer breed I was working with, so I set to changing and customizing the firmware to fit the particular combination of parts at hand. I tried two or three different versions of Marlin firmware as I had seen some Instructables using it. Unfortunately the custom tweaks in the tutorials I found seemed to be nothing near what this printer needed to function, so I set out to manually experiment and calibrate. In the end I ended up basing my firmware off of Sprinter firmware. I found the Triffid Hunter’s Calibration Guide especially useful, if any of you are on the eye out for one.
The seller provided a program for controlling the printer on USB, but it was in Chinese, which I don’t understand. So I looked up open source software and looked into making it work with the hardware. At first I tried Pronterface, but I forget why I abandoned it. Anyhow in the end for reasons I don’t remember I decided Repetier Host was the way to go. For generating G-code I like to use Slic3r (not the Slic3r built in with Repetier Host. I downloaded the separate Slic3r application, as I find it has more options and customization available).
Here is an early attempt at trying to print with even dimensions. This was me trying to print a calibration cube, but it turned out to be the Tower of Babel:
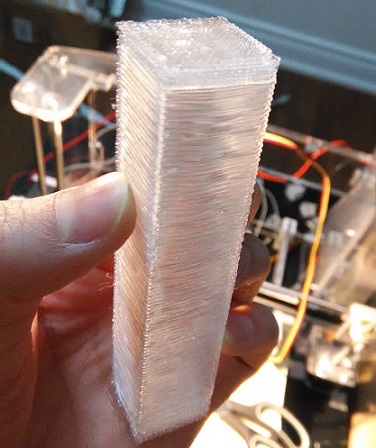
Evidently one of the problems above was that the z-step value was too high. If you look closely at each layer you can see that they slightly droop down. But progress was slowly made:
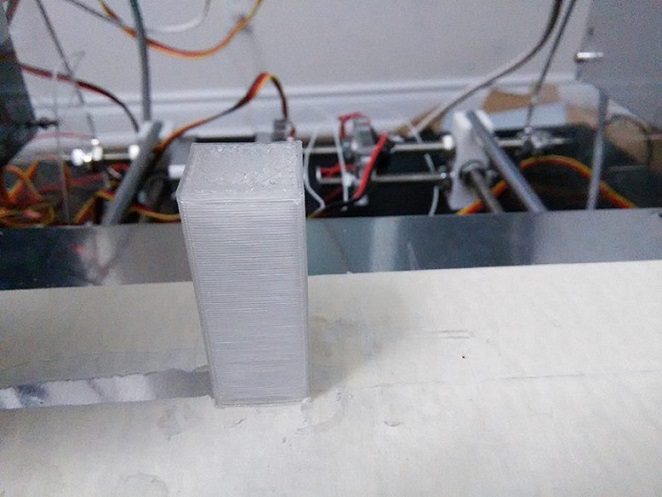
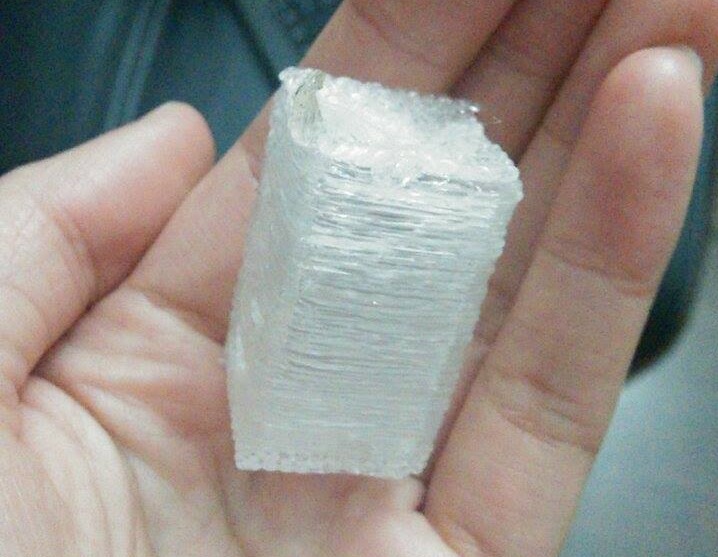
Note the awful build quality on some of those though. If the z-step is too low, the layers will squish together and look ugly. Build quality can also be affected by the extrusion values in the G-code of the object you are printing. This was the first calibration cube that actually came out as, well, a cube:
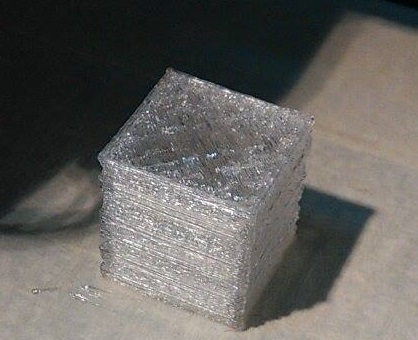
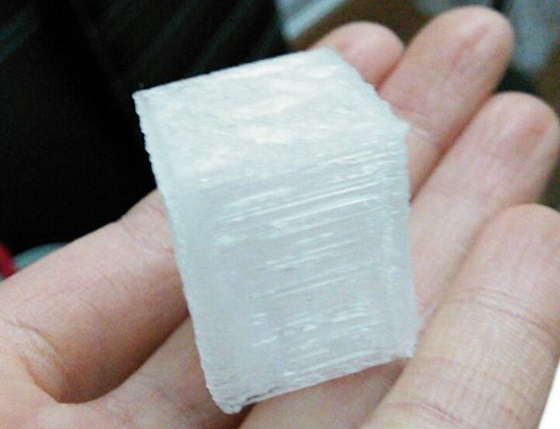
The cube was extremely brittle and actually broke when I pried it off of the heat bed. (That might have be my fault for being impatient and violently ripping it off though.) Anyhow, this fragile cube was printed with G-code generated by Cura. I generated the G-code using the same .stl file except with Slic3r, and found the build quality significantly improved:
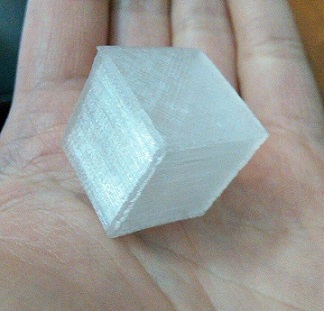
Finally, a properly printed calibration cube! I can’t tell you how happy I was about this. I was curious as to why the Slic3r cube and Cura cube turned out so differently, so I pulled out the G-code to inspect. Turns out the default extrusion factor on Cura is smaller than Slic3r’s default value. I could have simply changed this in Cura’s settings instead of switching to Slic3r, but oh well.
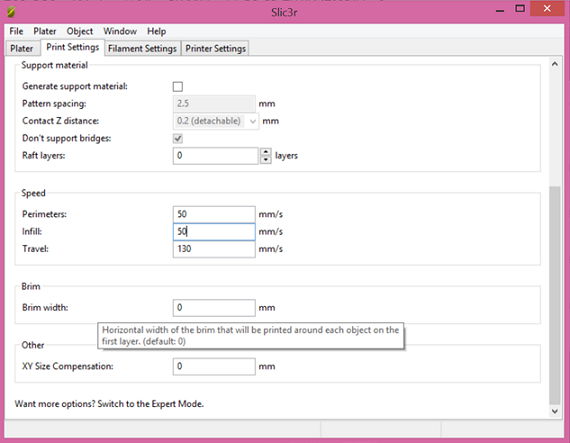
Anyhow, here are the Slic3r settings I like to use, in case anyone was wondering. Moreso for myself to go back and reference if I ever need to, haha.
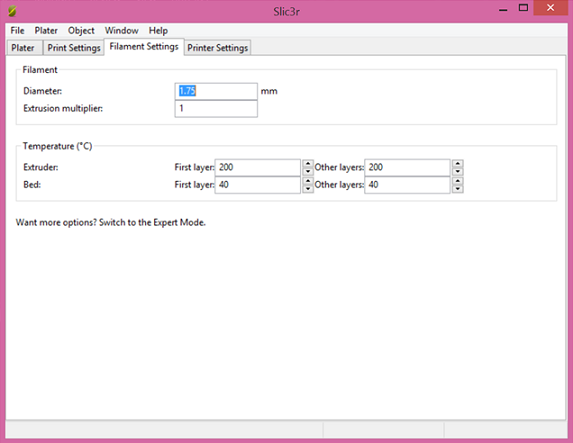
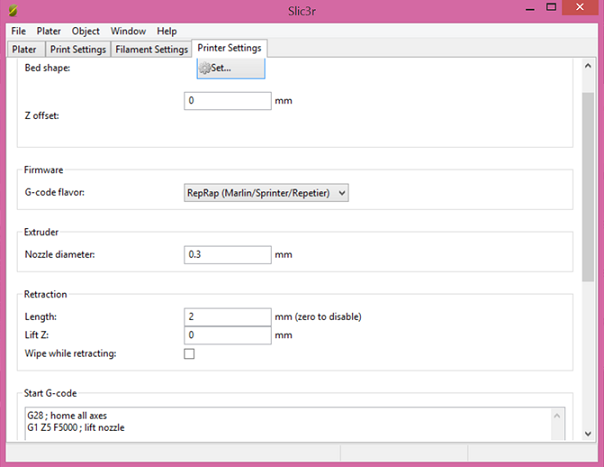
Before I end this post I’d just like to say that this tape is excellent for getting your print to stick to the heat bed, if you are having any trouble with that:
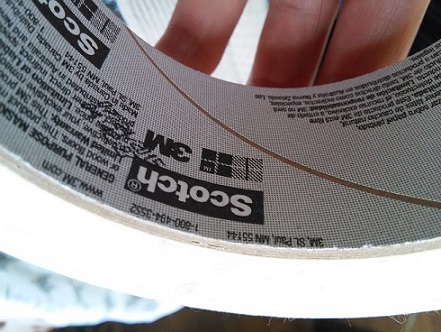
Of course, you can try increasing the heat bed and extruder temperature as well.