

February 06, 2016
Making the printer was pretty fun, but after printing a few calibration cubes to reassure myself, it sort of sat around for a bit. I printed a couple of guitar picks for friends, but those are flat, easy prints.
After finishing the calibration cube, for the first time ever I had access to a 3D printer. All I had ever seen prior was the glamorous, perfectly calibrated and gorgeous models the online 3D printing hype tries to advertise, so printing failures this time ‘round taught me a few things.
I found out as I started printing a larger variety of items that different types of objects might require attention and tweaking. Another thing I learned is how much of a difference the fan makes. It really makes a difference in terms of precision. I was printing some parts for a 3D printed version of the MeArm,
and the parts I printed without the fan were not very usable. Without the fan blowing the filament didn’t dry quickly enough as it was laid down, so the holes for screws and joints weren’t big enough. Filament would droop into them during the print. I’m not sure how clearly you can see the difference in thise pictures, but here’s a piece printed without the fan on (left) and one with the fan on (right):
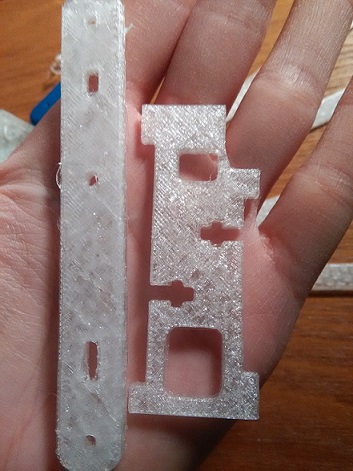
I’m wondering if I should bother printing the rest of the MeArm, or just replace a few of the wooden parts I alerady have for it - I haven’t thought of anything ultra cool and useful I would want to do with it. 3D printing is a pretty slow process, and since I bought a very cheap extruder (I actually broke the original extruder at one point, bought another to replace it haha) it actually leaks melted PLA as I print, so sometimes I have to supervise it. If it leaks too much, melted PLA will droop down and interfere with the print. I’d say it’s a good idea to invest in a high quality extruder if you are planning to 3D print a lot.
A good friend of mine is making a home made motor right now, so she’s asked me to print some gears for her. She’s actually designing them herself on AutoCad, so in the meantime we’ve been printing small prototypes.
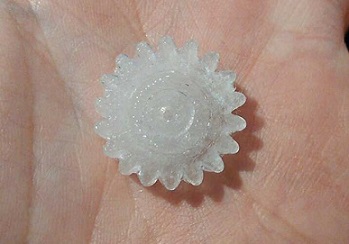
We’ve gotten the dimensions mixed up a few times. Slic3r gives dimensions in millimeters, but we didn’t know that at first and I hadn’t really paid attention to it prior, so this is what the first gear ended up printing as:
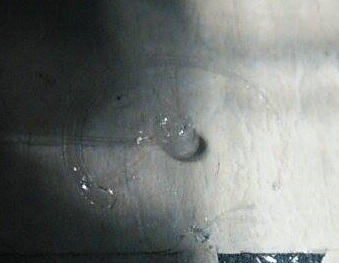
One print that gave me some trouble was the gameboy. A friend (the same one, she likes to make a lot of things) asked me to print a shell for a DIY gameboy she was making. Here’s a situation in which turning the fan off for a part of the print was actually a good idea:
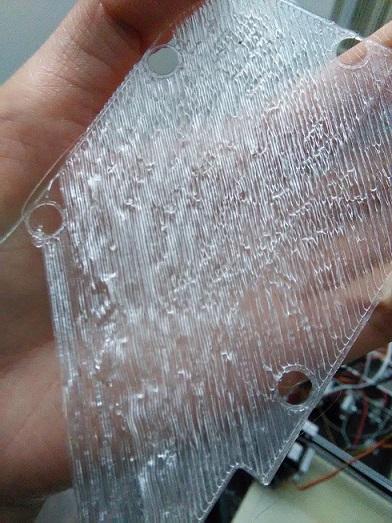
I was printing the bottom the gameboy shell here. What was happening here was that the infill for the bottom was printing at a slow speed, and the filament was drying as it was being laid down. It was drying slowly enough so that it would drop low enough to stick to the lines of infill that had been set down right before it, but fast enough so that it was drying before it had completely fallen onto the platform. This would cause the piece to print sort of mid-air, if that makes sense. It was forming elevated ripples, as shown in the picture above. I fixed this in another round of printing by speeding up the infill printing speed, then turning off the fan for at least the first layer of infill. This made it harder for the PLA to dry quickly.
At one point the fan was positioned a bit too low, such that it would scrape and interfere with the print. Sometimes the fan shroud would actually get melted by hitting the extruder and touching the hot PLA:
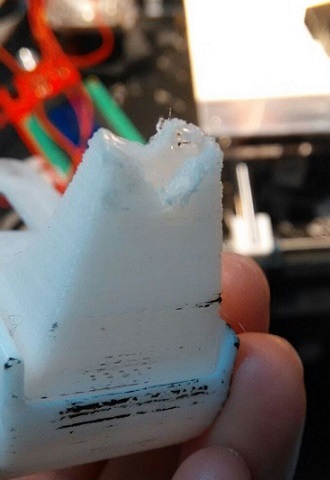
Part of the problem was that the fan holder provided with the kit didn’t actually line up with the holes on the motor bracket, so it was just dangling from one nut and bolt through a hole at the top left corner of the motor bracket. Another was that it was too low after replacing the extruder with one that had a shorter barrel than the previous one.
I tried looking for another fan holder + shroud combination to print on Thingiverse, but since this isn’t a standard kit I had a lot of trouble finding one that matched the setup and dimensions of this particular fan-motor-bracket-extruder mechanism. I would really liked to have custom designed one, but I don’t have enough space on my personal laptop for AutoCad (Plus it’s $$$). So for a while I simply scotch taped the fan to a higher position:
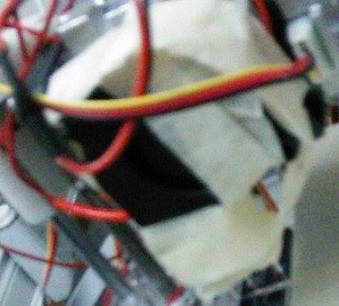
Don’t judge, I didn’t really have anything around for a proper quick fix, and am on student budget everything :’(…
Eventually I did a sort of better fix. Seeing as the fan holder provided was definitely 3D printed I figured it was made of PLA or ABS and could be melted. So I soldered a bigger hole into the fan holder so it could be repositioned higher (I don’t have a drill or access to one), then filled up the excess space at the top of the hole by melting PLA into it with the printer. The blob of PLA didn’t allow for enough space for the nut and bolt to reach through the fan, holder, and bracket anymore, so I ended up just sanding it down until it was level once again.